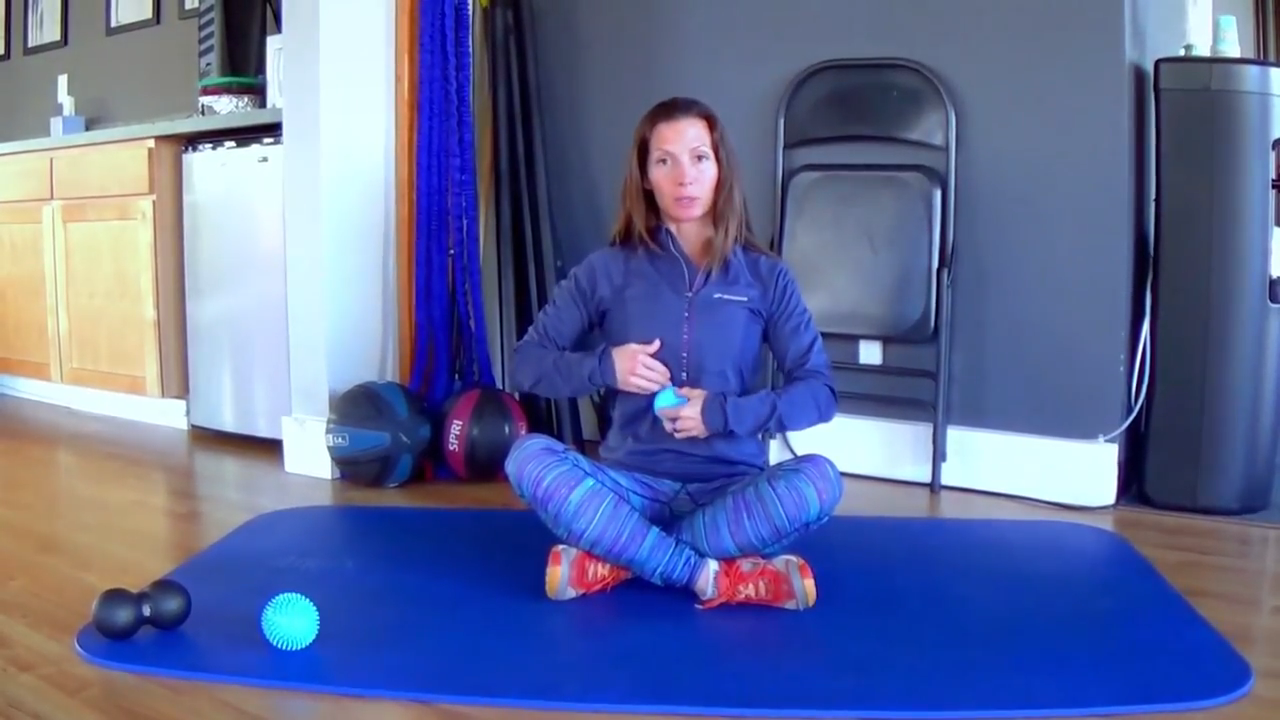
Our massage balls are perfect for helping you achieve a diaphragm release. Click on the video above to watch as Nikki explains the importance of releasing your diaphragm and how to use the massage balls to get there!
Using the harder density lacrosse-style ball or the medium density spiky ball, we are going to release your diaphragm. We are going to work the area just below your rib cage from the center (xiphoid process) down diagonally to your side.
Instructions:
Choose the ball according to your level of sensitivity, body size and/or weight.
Make sure it is not too uncomfortable or painful or your body will push away and not allow the muscles to relax.
Lie on the ball, allowing it to sink into that region.
Move the ball slowly around that area looking for hot spots or trigger points.
Then hold pressure on the trigger point, breathe deeply, relax and hold that position while you wait for it to dissipate or let go.
The sensation may increase before it decreases and/or radiate to other parts of the body.
You sometimes may even feel a little nausea or dizziness.
This can take from 3-10 minutes so take your time, move slowly and breathe deeply.
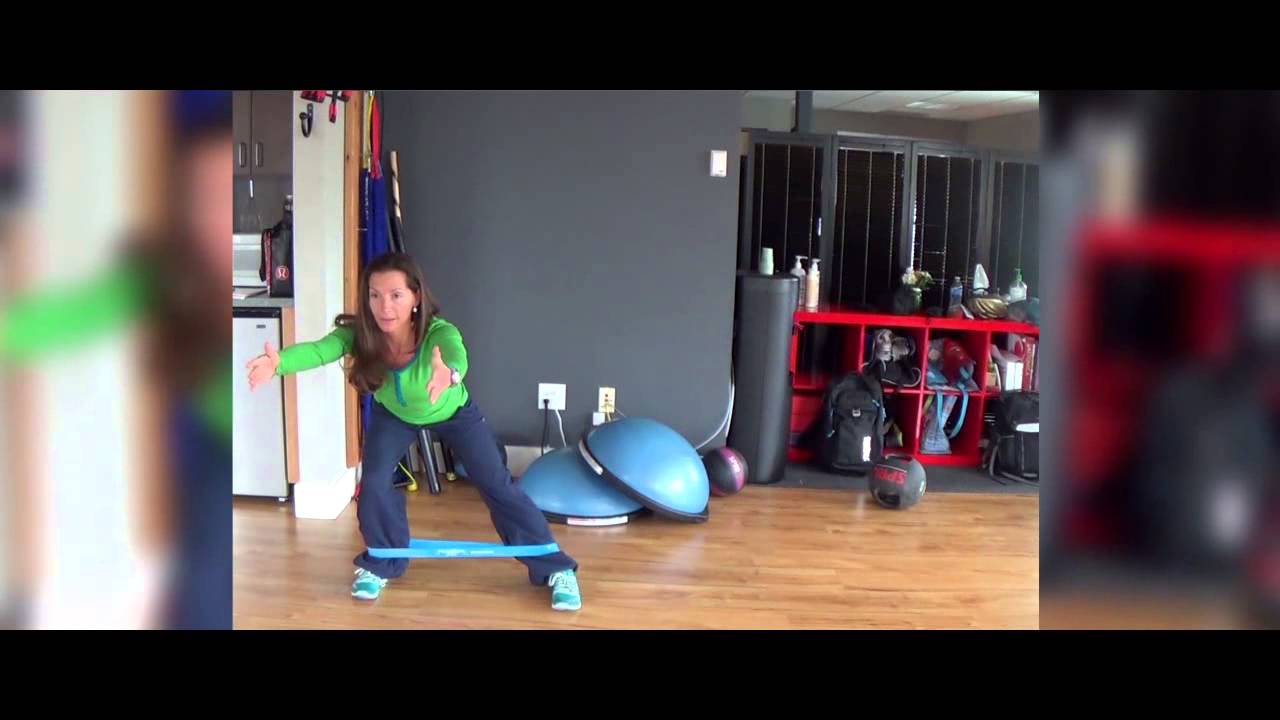
Our loop bands are amazing for small to medium range exercises. Click on the video above to watch as Nikki demonstrates a step to side lunge using the loop bands.
Instructions:
Stand with Feet hip to shoulder width apart, knees slightly bent, abs engaged, chest up nice and tall, and keep your chin forward in neutral.
With the loop band around your ankles, step out to a side lunge with your arms out forward as you sit back as though you are sitting in a chair.
Keep both toes straight ahead, your lunging leg should have the hip, knees and toes in a line and the other leg should be straight on a diagonal, feeling a stretch in the groin.
Come back up to the center and alternate going to the other side.
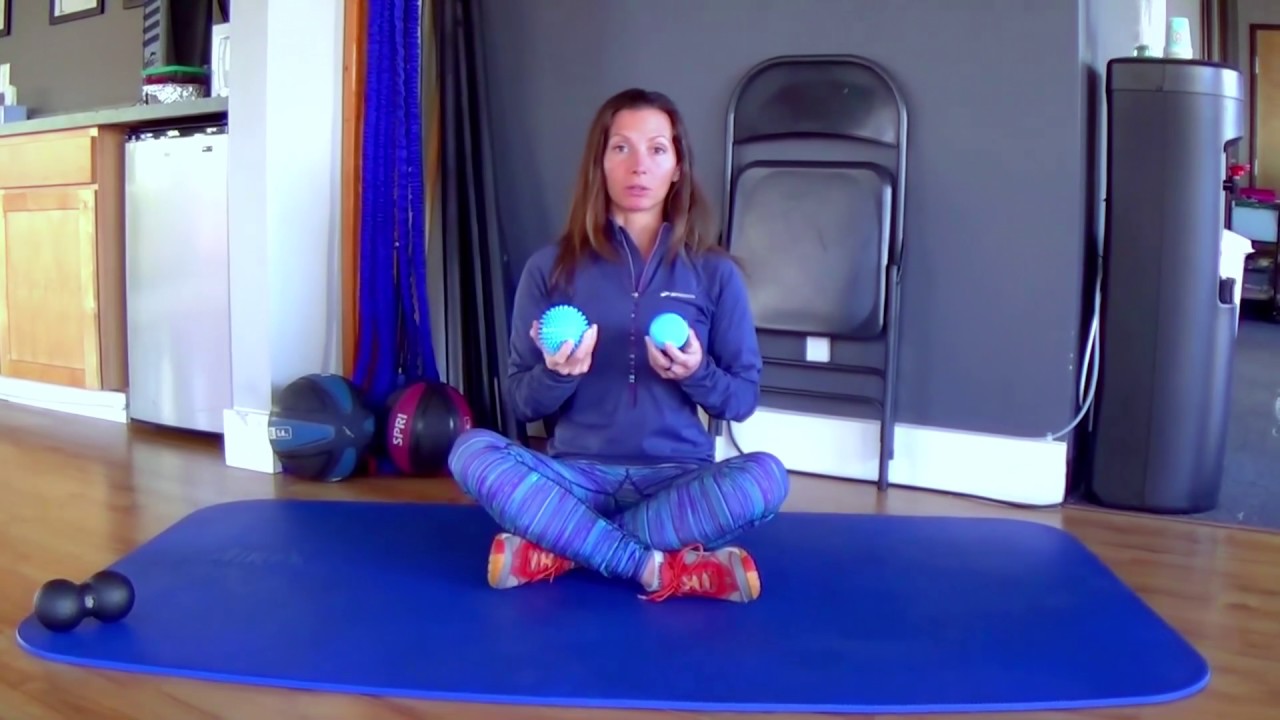
Our massage balls are perfect for helping you achieve a psoas release. Click on the video above to watch as Nikki explains the importance of releasing your psoas and how to use the massage balls to get there!
Using the harder density lacrosse-style ball or the medium density spiky ball, we are going to release your psoas.
The psoas is deep inside of your body in front of the spine and we will be working this area between your pubic bone, your belly button and your hip crest, forming a small triangle.
Instructions:
Choose the ball according to your level of sensitivity, body size and/or weight.
Make sure it is not too uncomfortable or painful or your body will push away and not allow the muscles to relax.
Lie on the ball, allowing it to sink into that region.
Move the ball slowly around that area looking for hot spots or trigger points.
Then hold pressure on the trigger point, breathe deeply, relax and hold that position while you wait for it to dissipate or let go.
The sensation may increase before it decreases and/or radiate to other parts of the body.
The psoas release can feel sharp or even uncomfortable and you may even feel a heat sensation.
This can take from 3-10 minutes so take your time, move slowly and breathe deeply.
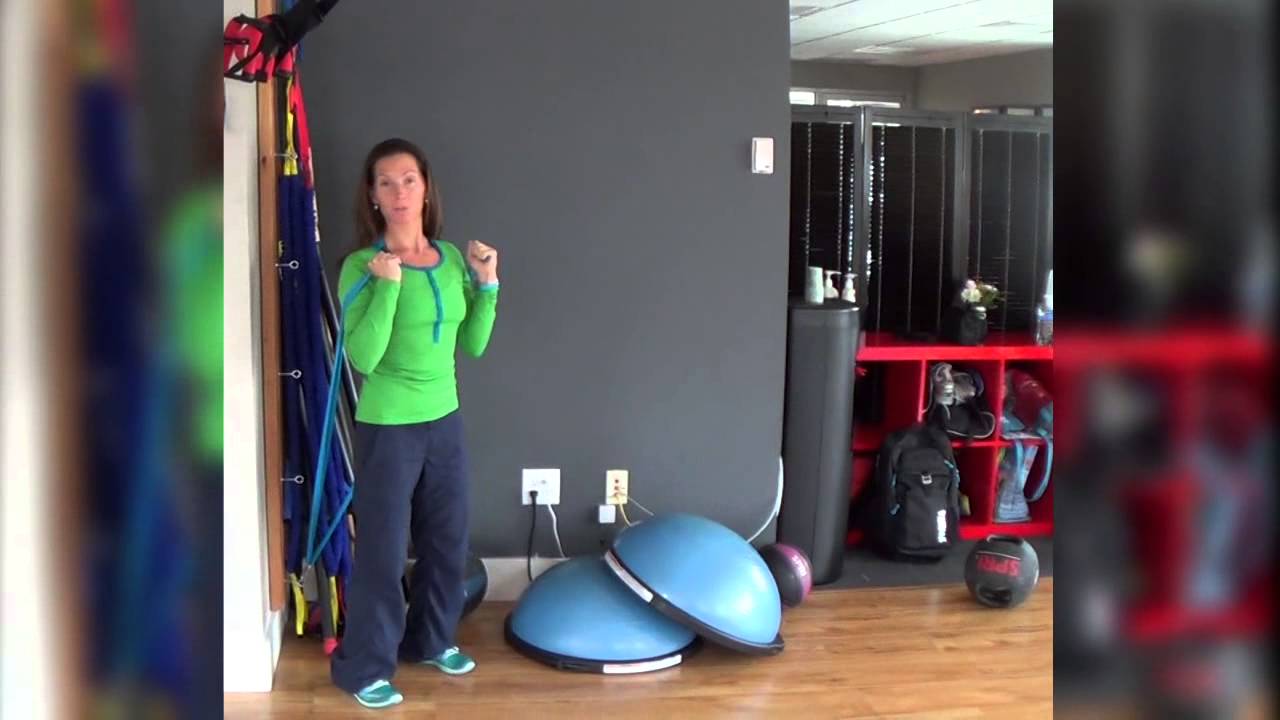
Our flat bands can help you get a great shoulder workout. This overhead shoulder press exercise will work your shoulders and arms as you extend your arms against the resistance of the flat band.
Instructions:
Stand with Feet hip to shoulder width apart, knees slightly bent, tummy engaged, chest up nice and tall, and keep your chin forward in neutral.
Anchor band at the bottom of the doorway.
Alternate pressing each arm up over your head with your bicep by your ear.
Keep your shoulders down, elbows in and palms facing your body.
Ah, we love autumn, don’t you? Summer’s heat is gone and the leaves are beginning to change, but it’s still warm enough to take your workout outdoors. Before you’re cooped up inside for the winter, why not take your NeeBooFit Resistance Tube Bands to the local park and get in a great workout?
The best thing about working out with our tube bands is that as you get stronger, you can increase the resistance to continue challenging yourself. We suggest starting with some of the lighter bands (yellow and green) and working up to the heavier bands. For even more specific weights, combine our bands to get the exact weight resistance you desire.
Next time you’re heading outside to workout, find yourself a lamppost, tree, or pole and try out this set of resistance tube band exercises from the great people over at Mind Body Green. You’ll strengthen your core, raise your heartrate, and get a nice dose of fresh air…all at the same time!
In the past, we shown you how to perfect your form in a plank using a NeeBooFit Resistance Loop Band to better stabilize your shoulder girdle. Now it’s time to try some progressions in all three types of planks: prone (facing floor), side plank, and reverse planks (face up). You won’t need a NeeBooFit Band around your arms for these exercises; however, imagine it’s there as you go through these challenging plank variations. There are a couple of exercises here that use the loop band around your ankles. Each photo shows a different variation on the standard plank positions.
Prone forearm plank progressions
Starting with your best forearm plank with your core engaged and armpits pulling towards your hips:
Leg lift (hip ext) option to use loop band
Alternating jacks w/loop band
Arm reach: side, forward, and to opposite thigh
Mountain climbers (elevated onto step) pull knee just under hip
Hip rotations
Tip: If you need to make these easier, place your feet further apart, unless you’re using the loop band.
Side plank progressions
From your best side plank with your elbow set directly under your shoulder, bottom arm rotated out slightly, head aligned with spine
Crunch: top hand behind head, modify by staggering legs or placing bottom knee down
Hip lifts, top arm high
Reach through
Hip abduction (leg lift)
Reverse plank progressions
From your best reverse plank with your fingers pointing out, shoulders rolled back, abdominals held in, and hips lifted